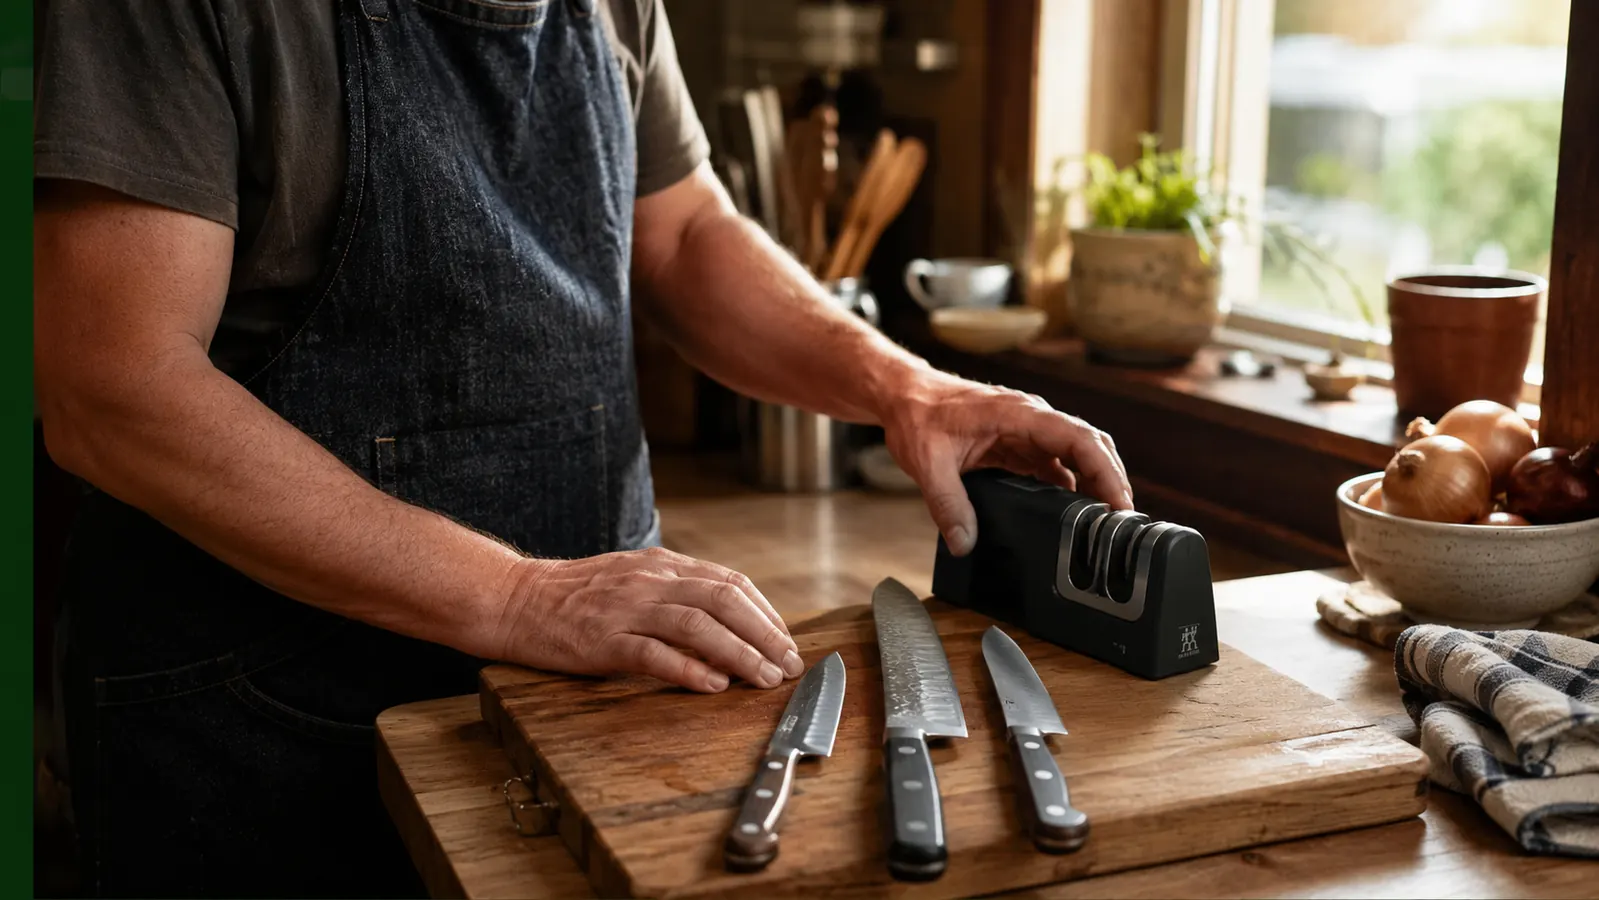
My knife block sits on the counter between the stove and the sink in my galley kitchen, and for longer than I'd like to admit, almost every knife in it was dull enough to bruise a tomato instead of slicing it. I'd grab the same chef's knife every night, press harder than I should have, and blame my own technique instead of the actual blade. If your knives have gone the same quiet, gradual way, a little duller every week until cutting an onion feels like sawing through a shoe, this is the exact process I use to bring them back with a Presto EverSharp electric knife sharpener, start to finish, in about ten minutes a knife.
I'm not going to walk you through whetstone technique here, because I don't have that skill and never found the time to learn it properly. What I do have is a countertop appliance with two slots and spring-loaded guides that hold the sharpening angle for you, which is the only reason this routine stuck for me past the first knife. Below is the same step-by-step process I run on my own chef's knife, paring knife, and bread knife with the Presto EverSharp, so a genuinely neglected edge goes back to something that actually cuts instead of crushes.
Tired of pressing harder on a knife that should be doing the work for you?
See today's price and current availability for the Presto EverSharp Electric Knife Sharpener on Amazon before you start.
Amazon Check Today's Price on Amazon →What You'll Need
This isn't a long supply list. You need the sharpener itself, a damp dish towel, a dry towel, and the knives you actually use most, not the fancy set you got as a wedding gift and never touch. I keep mine set up on a stretch of counter near the sink so rinsing and drying is a step, not a trip across the kitchen. Good task lighting matters more than people expect, since you're checking an edge for nicks and dullness, and dim lighting hides both. Set aside about twenty minutes the first time you do this for three knives, since checking, sharpening, and testing each one takes longer than it will once the routine becomes familiar.
Step 1: Look at the Blade Before You Sharpen Anything
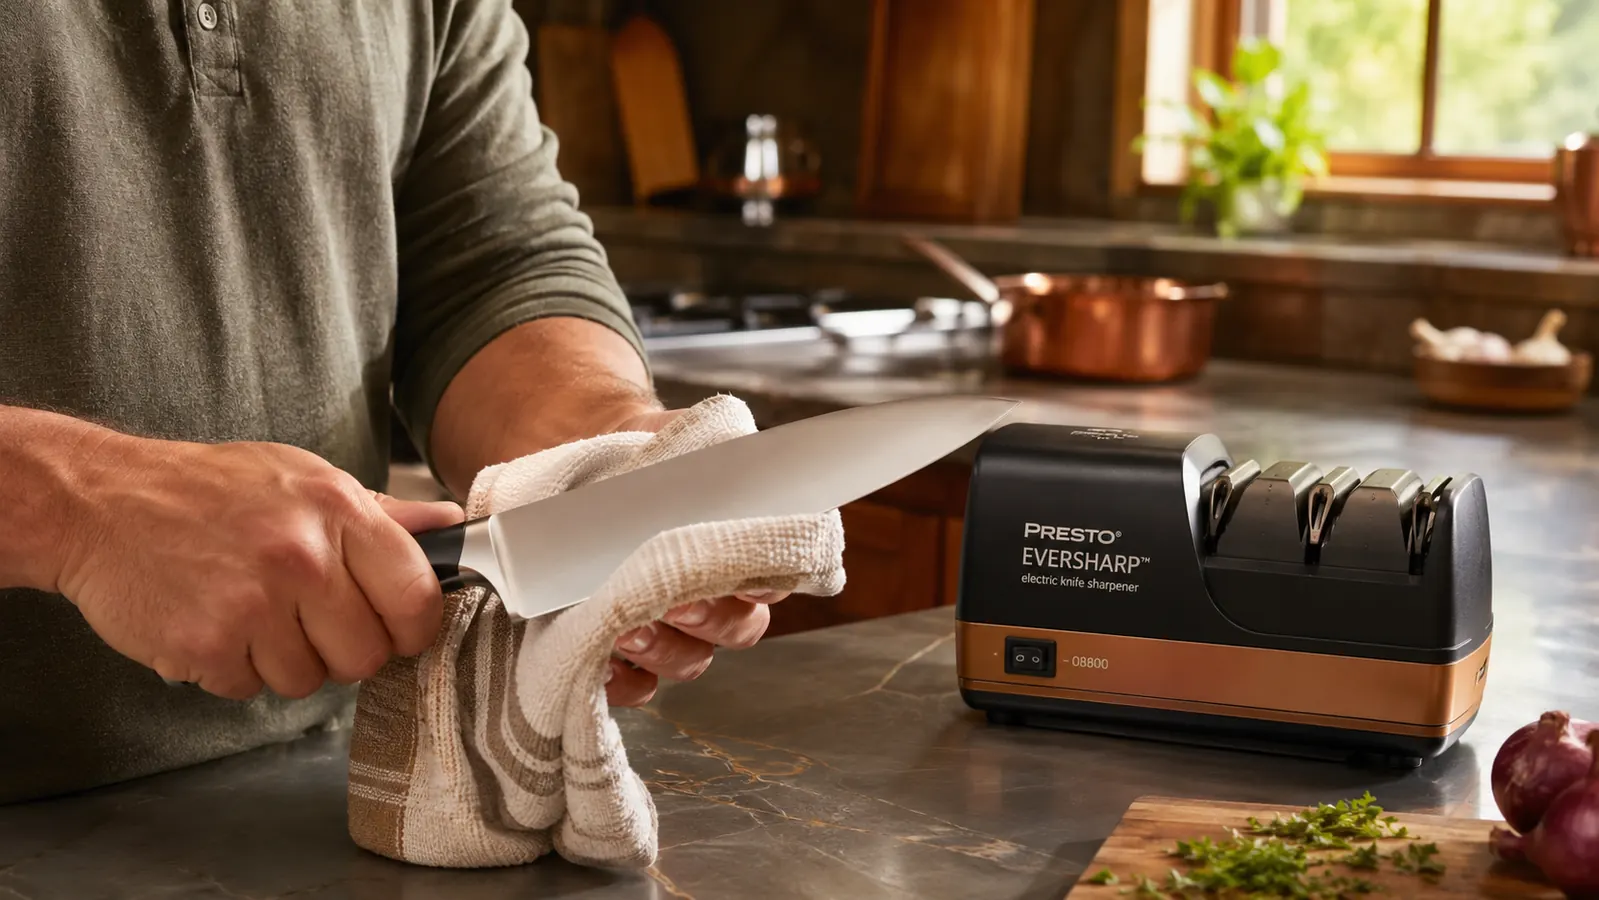
Before I run any knife through the Presto EverSharp, I wipe the blade clean with a damp cloth and actually look at the edge under decent light, tilting it so the edge catches the light rather than the flat of the blade. A truly dull edge looks dull, it reflects light back at you in a thin, even line along the whole length. A sharp edge disappears into a hairline you can barely see.
This is also when I check for damage, not just dullness. My paring knife picked up a small chip near the tip years ago from an unlucky run-in with a can lid, and that's a different problem than ordinary wear. A chip needs several rounds through the coarse slot over time, not one quick pass. Most kitchen knives, though, aren't chipped, they're just worn down from months of cutting boards, and that's the easy, common case this whole routine is built around.
Wipe the blade dry before it goes anywhere near the sharpener. Water and food residue in the slots doesn't do the abrasive wheels any favors, and a dry blade also means you're not adding a slip risk to a step that already involves a sharp edge moving past your fingers. This thirty-second look-and-wipe habit is the part people skip, and it's the part that actually keeps the rest of the process safe and predictable.
I also give the handle a quick check at this point, especially on older knives. A loose rivet or a handle that's started to feel slick changes how confidently you can control the blade through the slots, and it's a five-second thing to notice now rather than mid-pass. If a handle feels off, I address that before I touch the sharpener at all.
Step 2: Set Up a Stable, Well-Lit Spot
The Presto EverSharp needs a flat, stable surface, and mine lives on a rubber shelf liner square so it doesn't slide around while I'm pulling a knife through it. If your counter has any wobble or your sharpener wants to scoot toward the edge every time you use it, stop and fix that before you pick up a knife. A sharpener that shifts mid-pass is the one thing that turns an easy routine into a genuinely risky one.
I keep my dominant hand fully in charge of the knife handle and my other hand well clear of the blade path, resting on the counter or holding the sharpener's base steady, never anywhere near the slots themselves. It sounds obvious written out, but it's worth saying plainly since this is the one part of the whole process where a moment of distraction actually matters. Kids, phone calls, the stove timer going off, all of that waits until the knife is back in the block.
I pick a spot with a clear few feet around it, away from the edge of the counter where a knife could tip off if it were bumped. It only takes once, catching a sleeve on a knife handle mid-pull, to make you rearrange the whole setup, so I'd rather build the habit of a clear, deliberate workspace from the first time through.
Step 3: Run the Coarse Slot First
For a genuinely dull, neglected knife, the coarse slot is where the real restoration happens. This slot uses diamond abrasive wheels set at a fixed angle by spring-loaded guides, so you're not guessing at 17 or 20 degrees by feel the way you would with a whetstone. You pull the blade through from heel to tip in one smooth, even motion, using light pressure, and let the guides do the angling instead of forcing it yourself.
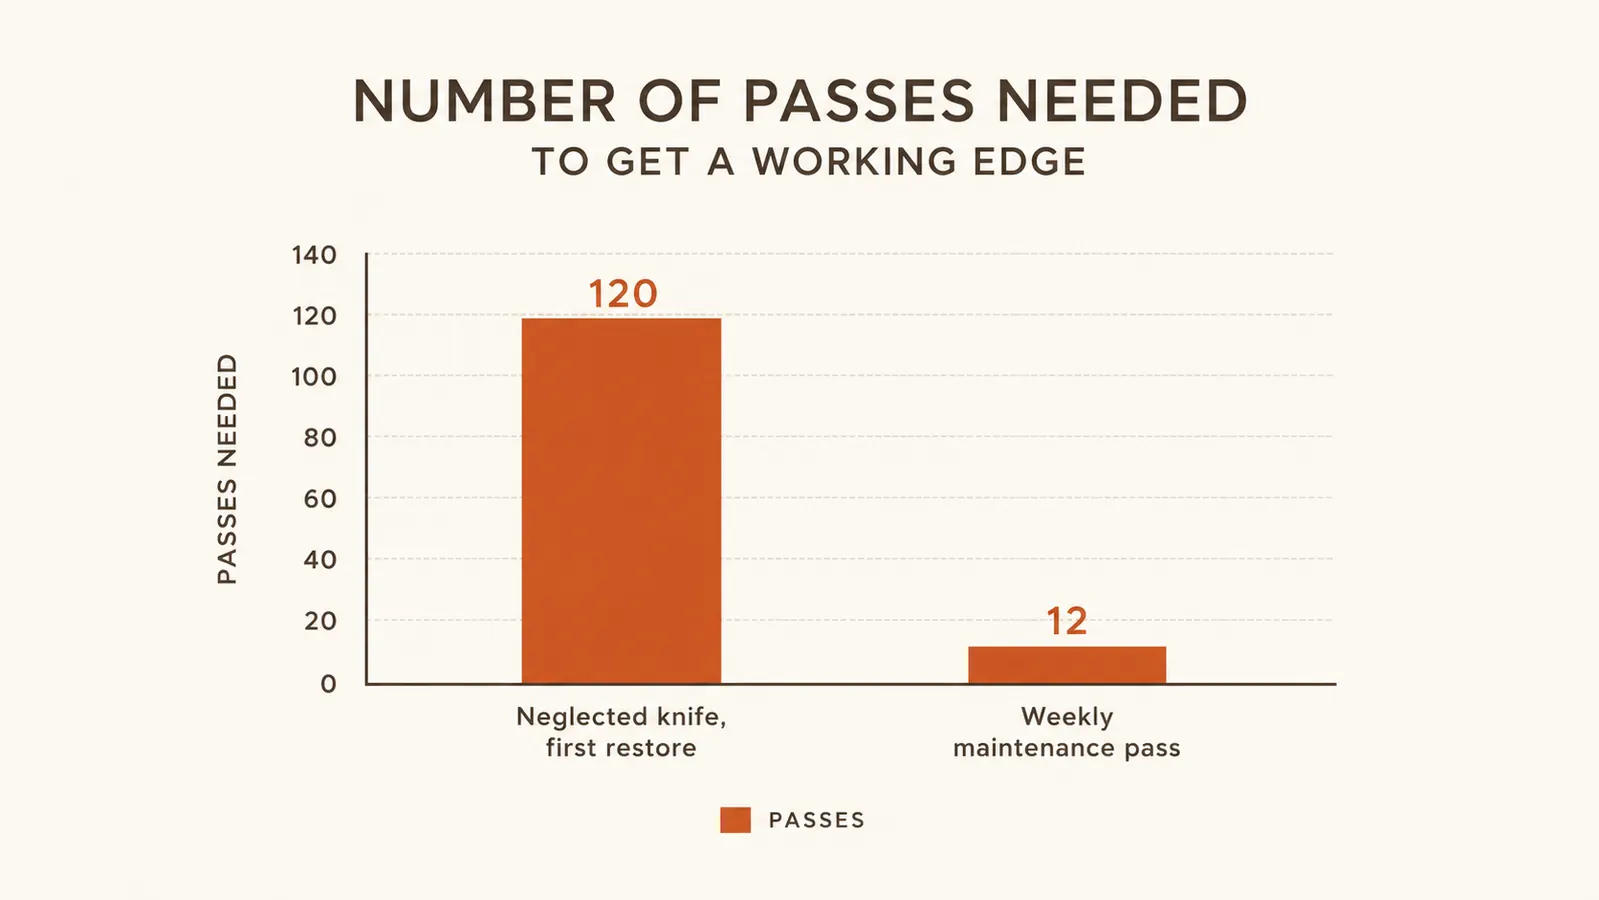
The first time I restored a truly neglected chef's knife, I ran it through the coarse slot about six or seven times before I saw a visible burr forming along the edge, which is a good sign the metal is actually being reshaped rather than just polished. I paced myself, one pull, wipe the blade, check it, then another pull rather than rushing through a dozen passes at once. That pacing is what let me catch the moment the edge was actually ready instead of overdoing it.
This is the step where being patient with the Presto EverSharp pays off. A knife that's been neglected for a year or more didn't get that way in one day, and it's not coming back in one pass either. I've found six to ten passes through the coarse slot is typical for a genuinely dull, unmaintained blade, while a knife I keep up with regularly rarely needs more than a couple.
If a knife has a serrated edge, like my bread knife, I use the slot designed for that instead of the standard coarse slot, since serrated blades have a different bevel that a straight-edge slot won't reach properly. I was surprised the first time that it worked at all, but it's built to work the flat bevel between the individual teeth without flattening them out, which is exactly what a serrated blade needs.
Step 4: Finish With the Fine Slot and Test the Edge
Once the coarse slot has reshaped the edge, move to the fine slot and repeat the same light, even pulls, two or three times is usually plenty here. This slot polishes the edge the coarse slot just created, smoothing out the burr and refining the bite so it slices instead of just cuts. Skipping this step is a common mistake, a coarse-only edge can feel aggressive but actually catch and tear rather than glide.
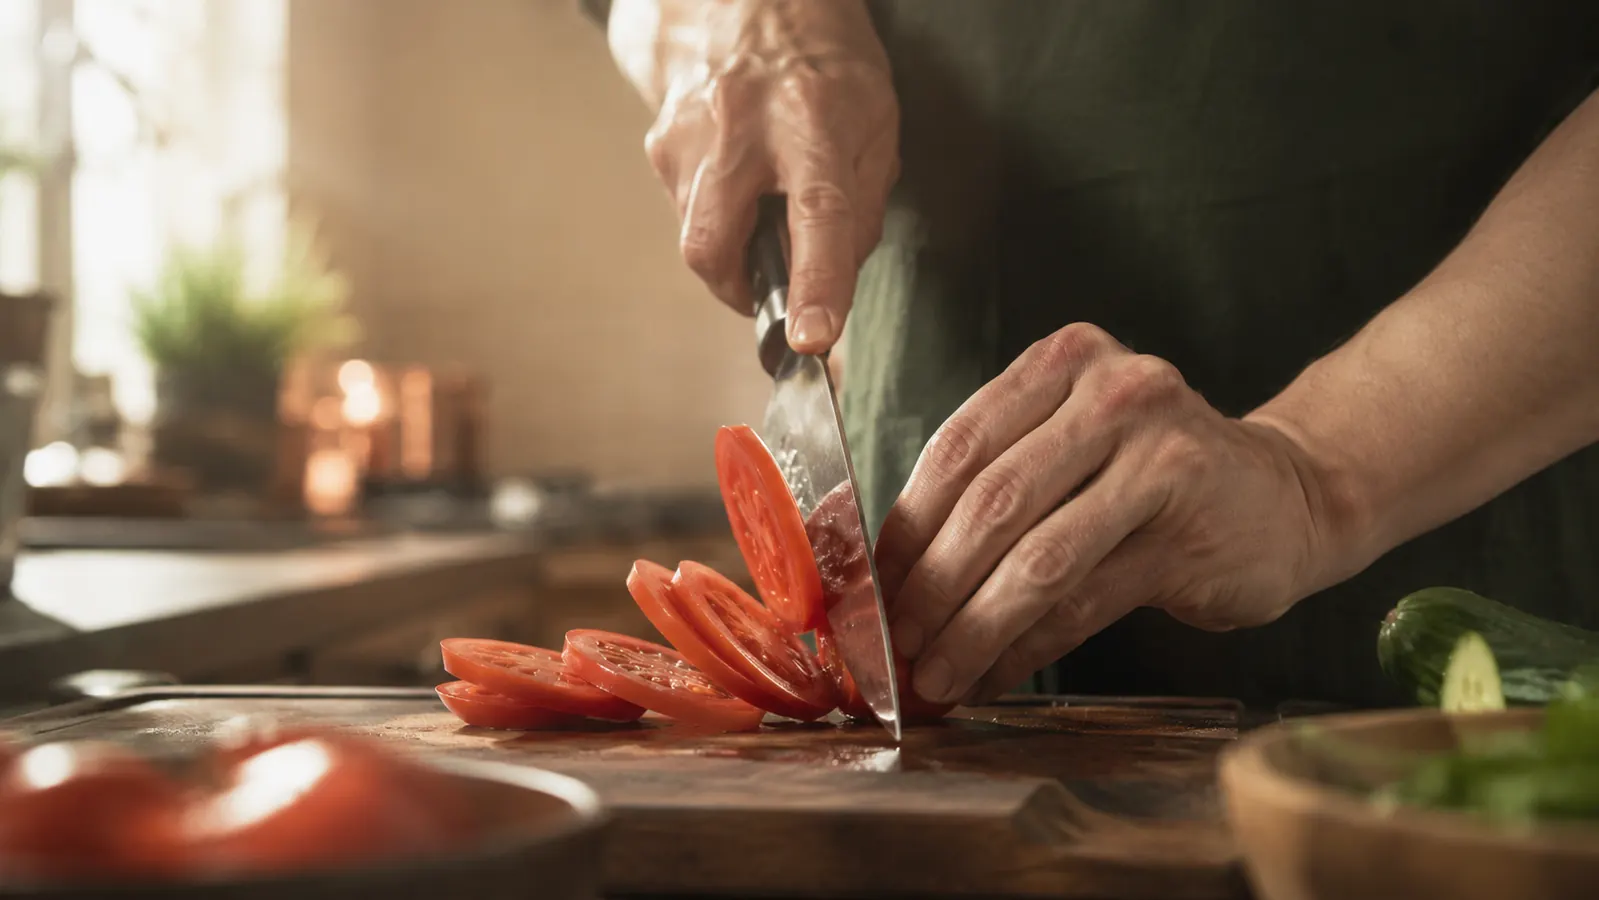
I test every knife the same way once I'm done: a ripe tomato. If the blade drops into the skin under its own weight without me pressing down, the edge is back. If it skates or needs real pressure, I run one or two more passes through the fine slot and test again. I don't recommend the classic paper-slicing test if you're new to this, a tomato tells you what you actually need to know for cooking, which is whether the knife will handle real food without a fight.
Dry the blade thoroughly after this final pass and before it goes back in the block or a drawer. Any moisture left on a freshly sharpened edge is an easy way to invite rust on carbon-content blades, and it's a habit that takes ten extra seconds once you build it into the routine.
If the edge still isn't where you want it after two full rounds of coarse and fine passes, that's usually a sign of real damage, a deep chip or a badly rolled edge, rather than something to keep grinding away at. In that case I'll set the knife aside and either give it more time over a few separate sessions or, for something with sentimental or real value, hand it to a professional sharpening service instead of forcing it.
Step 5: Turn It Into a Weekly Habit
The real payoff of this whole process isn't the first restoration, it's what happens after. Once my knives were back to a working edge, I started running each one through just the fine slot for a couple of quick passes on Sunday afternoons, while dinner leftovers reheat. That two-minute habit is the difference between needing this full restoration routine again in six months versus never letting a knife get bad enough to need it.
I've noticed the sessions get shorter the more consistent I am. A knife I maintain weekly rarely needs the coarse slot at all anymore, while the bread knife I let go for a year needed real time and patience the first time through. Building the habit is what keeps you out of that neglected-knife situation in the first place, which is honestly the better problem to solve.
I keep the sharpener itself clean too, wiping any metal dust out of the slots every few weeks with a dry brush, since built-up residue in the slots can affect how evenly the wheels contact the blade over time. It's a small bit of upkeep on the tool that's doing the upkeep on everything else in the knife block.
What Else Helps
A sharpener does its job better when the rest of your habits aren't working against it. Cutting on glass, stone, or granite dulls an edge fast no matter how good the sharpener is, so a wood or plastic cutting board makes every sharpening session last longer. Tossing knives loose into a drawer with other utensils is another quiet edge-killer, the blade knocks against metal every time the drawer opens, which is a big part of how mine got so dull in the first place before I switched back to storing them in the block.
Hand washing and drying knives right after use instead of letting them sit in a sink of soapy water also protects the edge and the handle, especially on knives with wooden or riveted handles. None of this replaces the actual sharpening step, but it stretches the time between sessions, and it means the coarse slot stays reserved for genuine neglect rather than becoming a weekly necessity.
The way you cut matters too. Rocking a chef's knife through an onion in smooth strokes is easier on the edge than sawing at it, and letting the knife's own weight do the cutting rather than pressing down hard is both gentler on the blade and safer for your hand. A sharp knife needs less force to do its job, so if you find yourself pressing harder than feels natural, that's usually the edge telling you it's due for another round through the sharpener rather than a sign to push through it.
I didn't want to become a knife expert. I just wanted slicing a tomato to stop feeling like a small fight I was losing on a Tuesday night.
If your knives have quietly gone dull, this is the fix that actually got used
Check today's price on the Presto EverSharp Electric Knife Sharpener and see if it's in stock for your kitchen.
Amazon Check Today's Price on Amazon →