
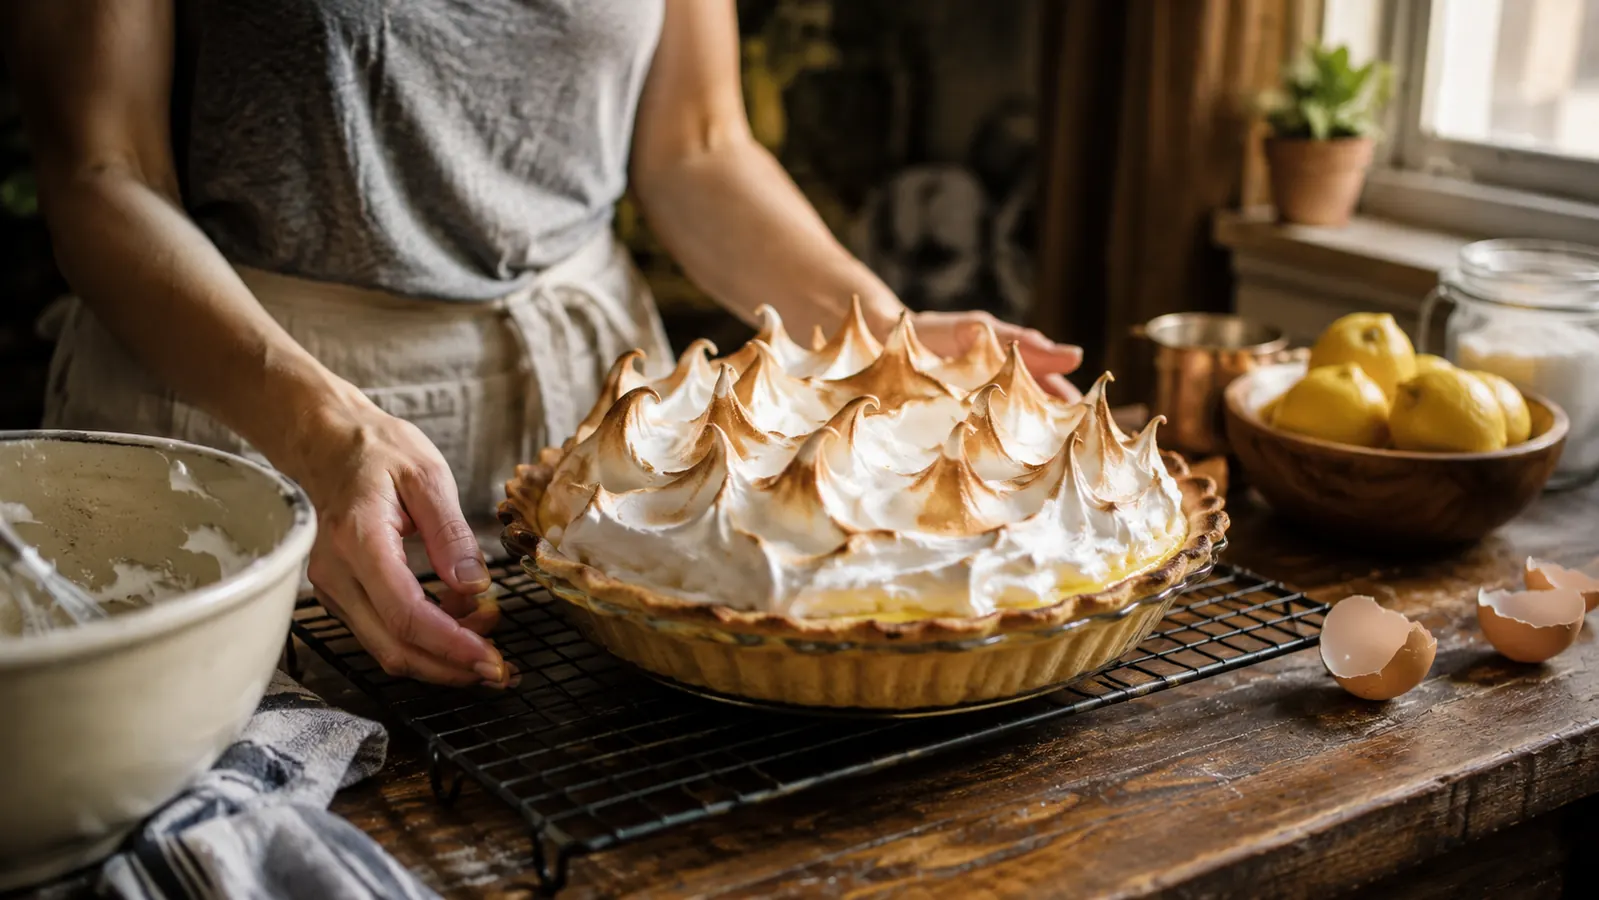
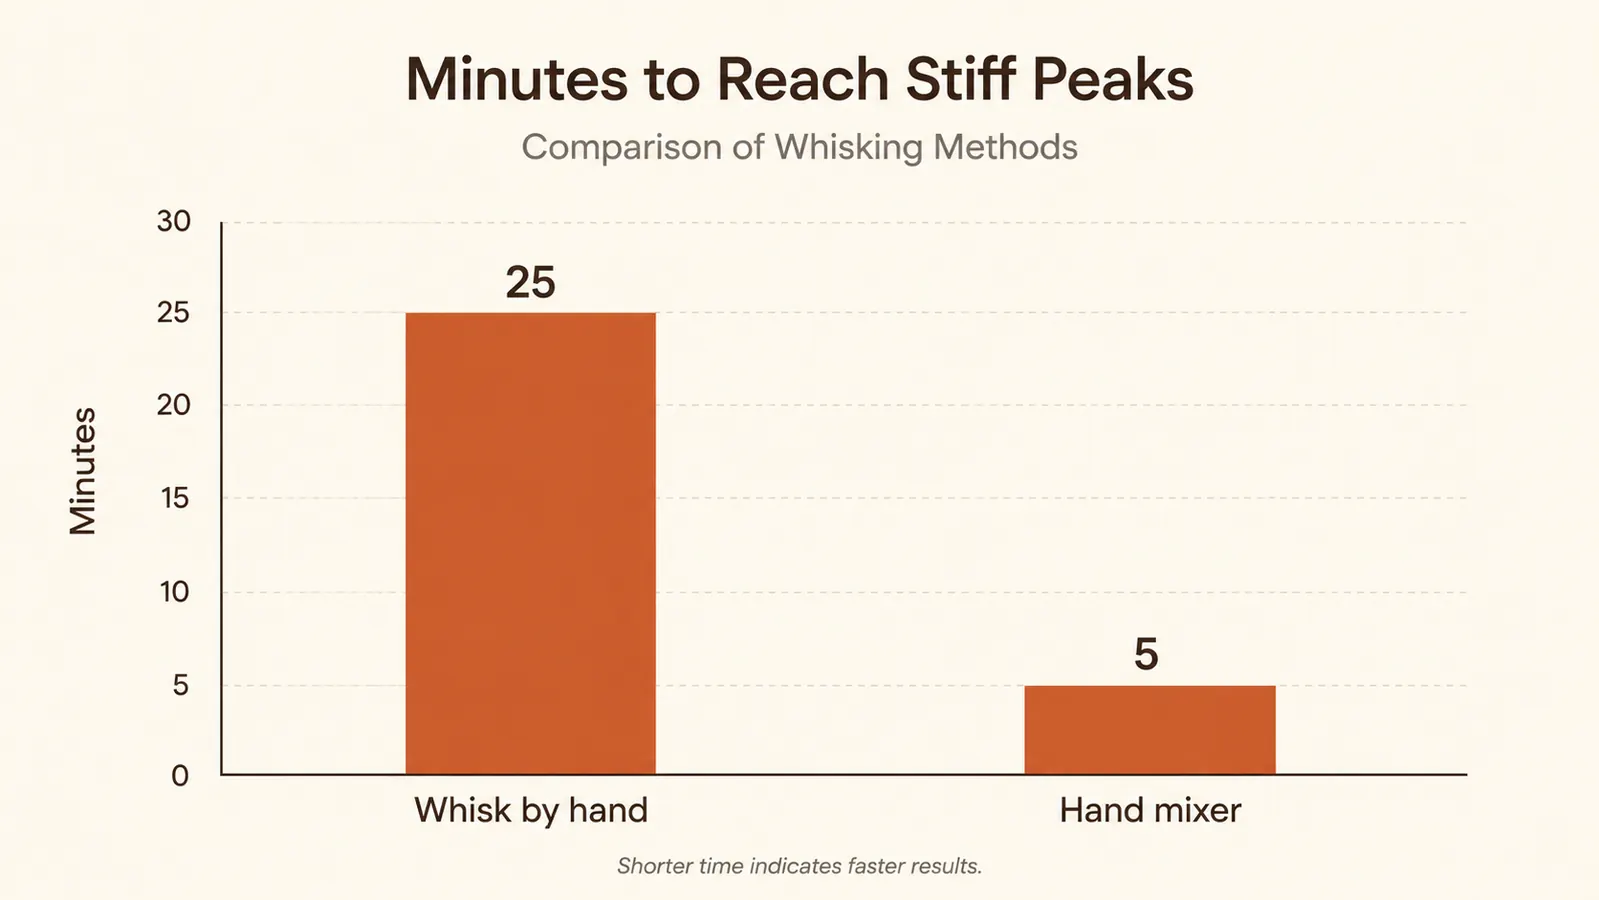
My first attempt at a lemon meringue pie ended with soupy egg whites sliding right off the custard instead of holding a peak, and I blamed the recipe for a full week before I figured out the real problem was my own tired arm. Whipping egg whites to stiff peaks by hand takes eight to twelve minutes of steady circular motion, and by minute five my wrist gives out completely, leaving a bowl of loose foam that never firms into anything resembling real meringue. I redid that pie three times that month before I admitted the tool mattered as much as the technique.
The KitchenAid hand mixer sitting in my drawer fixed that the very next time I tried, though it took two more ruined batches before I understood the KitchenAid wasn't magic on its own, it was just removing the arm fatigue that had been sabotaging my technique the whole time. Once I learned what the KitchenAid actually does at each speed setting, stiff peaks stopped being a gamble and started being something I could count on for pavlova, angel food cake, and that same lemon meringue pie that started this whole habit in my kitchen. What follows is the exact process I use every time now, in order, with the mistakes I made along the way included on purpose.
Tired of your wrist giving out before the egg whites ever peak?
See today's price and current availability for the KitchenAid 5 Ultra Power Speed Hand Mixer on Amazon before your next meringue attempt.
Amazon Check Today's Price on Amazon →Step 1: Start With Room-Temperature Eggs and a Truly Clean Bowl
Cold eggs whip up smaller and slower than room-temperature ones, so I pull mine out of the fridge about thirty minutes before I plan to bake, longer if my kitchen runs cool in the winter months. Separating them while they're still cold is actually easier, since the yolk holds its shape better and is less likely to break into the whites, so I crack and separate cold, then let the whites sit in a bowl on the counter to come up to temperature on their own before the mixer ever touches them. I use a small dish to crack each egg into individually, so one bad yolk doesn't ruin the whole batch of whites waiting in the big bowl.
The bowl matters more than most recipes bother to mention. Egg whites need a bowl that's completely free of grease, and plastic bowls hold onto fat from past use in ways that glass and stainless steel simply don't, even after a run through the dishwasher. I keep one glass bowl set aside specifically for egg whites now, and before every batch I wipe it down with a splash of vinegar or lemon juice on a paper towel, just to be sure nothing from last week's whipped cream is hiding in there unnoticed. That one habit alone fixed more failed batches than any other change I made.
The same rule applies to the beaters. My KitchenAid's beater attachments need to come out of the drawer completely dry, since even a drop of leftover oil from a batch of vinaigrette can keep egg whites from ever climbing past a loose foam. I wash and fully dry a dedicated set before starting, and I've learned to check around the beater eject button too, since batter residue can linger there from the last cake I made and quietly sabotage a whole batch of meringue without me realizing why it won't whip properly.
Step 2: Set the KitchenAid to Low Speed and Build a Real Foam First
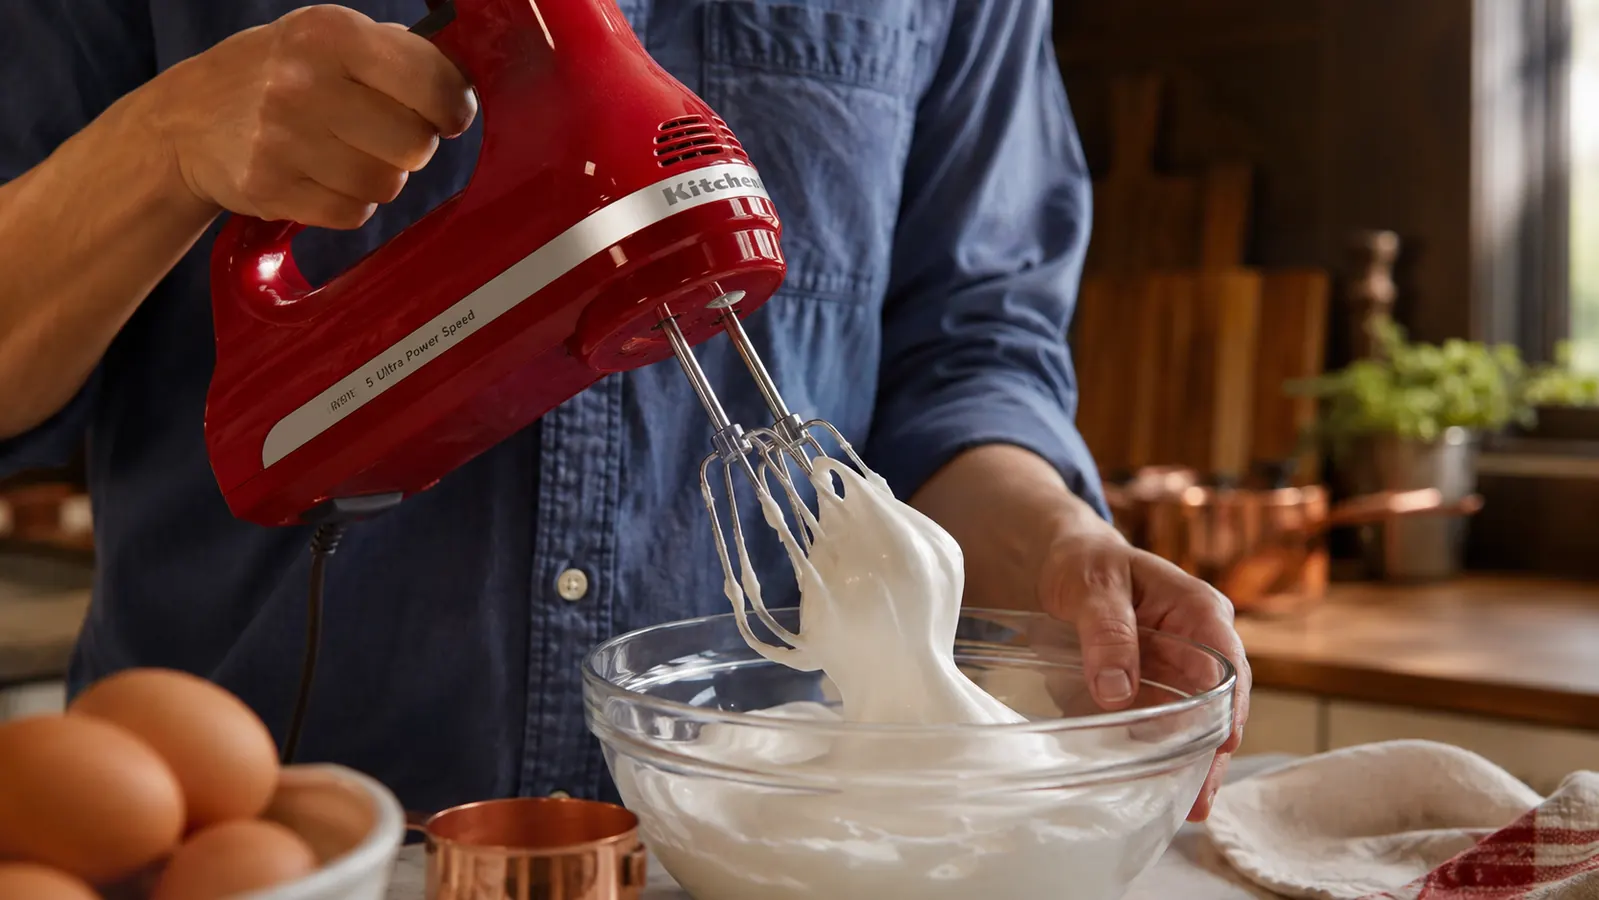
I start every batch on the KitchenAid's lowest speed, moving the beaters in slow, wide circles around the bowl rather than holding them still in one spot. This first minute isn't about volume yet, it's about breaking up the thick, ropey texture of raw egg white into something more uniform. If I skip this step and jump straight to a higher speed, I end up with big, uneven bubbles that look impressive for about thirty seconds before they collapse right back into liquid, which used to happen to me constantly before I slowed down.
Slow and steady at the start builds a fine, even bubble structure that holds up under everything that comes later, sugar, cream of tartar, and eventually folding into batter. Whites whipped too fast from the very beginning trap large air pockets that pop under their own weight, which is exactly why some meringues look glossy going into the oven and deflate into a flat puddle coming out. Speed one for that first minute solves most of that problem before it ever starts, and it costs almost nothing in time.
Once the whites turn from clear and stringy to a pale, opaque foam with small, consistent bubbles, usually around the one-minute mark, I move the mixer up to speed three. The KitchenAid's motor handles that transition smoothly, no lurching or sudden surge that would fling foam onto the backsplash, which used to happen constantly with the cheaper mixer I owned before this one earned its spot in the drawer next to the stove.
Step 3: Add Cream of Tartar or Sugar Once You Hit Soft Peaks
Soft peaks show up when you lift the beaters straight up out of the bowl and the foam holds a peak for a second before the tip flops over on itself. This is the moment to add anything you're stabilizing or sweetening the whites with, not before, since adding sugar too early slows down how fast the whites can build volume in the first place. I lift the beaters every thirty seconds or so once the foam starts looking thick and glossy, just to check exactly where I actually am in the process.
For a stabilizer, I add an eighth of a teaspoon of cream of tartar per egg white right at soft peaks, which keeps the structure from collapsing while I finish whipping or while the whites wait to be folded into batter. For a sweet meringue instead, I stream in sugar about a tablespoon at a time, letting each addition fully dissolve before adding more, with the KitchenAid running on speed three the whole time so the sugar incorporates evenly instead of sitting in gritty clumps at the bottom of the bowl.
For my lemon meringue pie, that's three egg whites and six tablespoons of sugar added gradually over about ninety seconds, then I bump the KitchenAid up to speed four to finish. The whole bowl noticeably brightens in color and starts to look glossy rather than dull right around this stage, which is the first real sign that stiff peaks are close, not far off the way they felt when I was doing this by hand for eight exhausting minutes.
Step 4: Watch for Stiff, Glossy Peaks and Stop There
Stiff peaks look different from soft peaks in a way that's obvious once you've seen it. Lift the beaters and the point of foam stands straight up without drooping at all, holding its shape even if you tip the bowl slightly to one side. The whole surface takes on a glossy, almost satin sheen instead of the duller, bubblier look of soft peaks, and that glossiness is the real tell, more reliable than any timer or step count on its own.
Overbeaten whites give themselves away just as clearly, though the signs are less talked about. The foam starts to look clumpy or curdled instead of smooth, and if you keep going past that point, liquid starts separating out at the bottom of the bowl no matter how long you keep whipping. Once whites turn grainy and dull like that, there's no fixing them with more mixing, the only real fix is starting over with fresh whites and a cleaner bowl, no shortcuts around it.
With my KitchenAid on speed four, I usually hit true stiff peaks around the four to five minute mark total, counting from the very first second on speed one. I stop checking every thirty seconds once I sense I'm close and start checking every ten instead, because the gap between perfect stiff peaks and slightly overbeaten whites is narrower than most recipes let on, sometimes less than twenty seconds of extra mixing separates the two.
Step 5: Fold the Whites Into Your Batter, Don't Stir
Once the whites are done, the mixer's job is finished and the rest is hand work with a rubber spatula. Folding means cutting straight down through the center of the bowl, scooping along the bottom, and turning the batter up and over itself, rotating the bowl a quarter turn between each fold. Stirring in circles the way you would with regular batter knocks the air right back out of whites you just spent five minutes carefully building up in the first place.
I always fold in about a third of the whipped whites first, stirring that portion in a little more firmly to lighten the base batter, before folding in the rest more gently. That first third sacrifices some volume on purpose so the heavier batter underneath can actually accept the lighter whites without deflating them the moment they touch, which matters more with a dense batter like angel food cake than with a lighter one.
The first time I got this right was an angel food cake for my nephew's birthday, and it rose taller in the pan than any boxed mix ever had in my oven before. The batter looked almost too light going in, more like whipped cream than cake batter, and that lightness is exactly the point, it's what makes the whole method worth the extra few minutes of careful folding instead of a quick stir straight through the middle.
What Else Helps
A few small habits make this go smoother every time. I avoid whipping egg whites on humid or rainy days when I can help it, since extra moisture in the air genuinely slows down how well whites hold structure, something I didn't believe until a rainy Sunday pavlova collapsed on me for no obvious reason. I also stick to fresh eggs rather than ones sitting near the back of the fridge for weeks, since fresher whites hold air better than older ones. And I keep a small bottle of white vinegar next to my baking supplies specifically for wiping down the bowl and beaters before every single batch, since that one habit has fixed more failed meringues than anything else I've tried.
I also learned to plan the rest of the recipe around this step instead of treating egg whites as an afterthought. Anything else that needs the oven preheated or the cake pan greased gets done before I ever start the mixer, since stiff peaks don't wait patiently on the counter while you scramble to catch up. Whites that sit too long after they're done start to weep a little water at the bottom of the bowl, so I've made peace with whipping them last, right before they go into the oven or get folded into whatever they're joining.
Stiff peaks were never about strength. They were about steady, even speed I could actually hold for four minutes without my arm quitting halfway through.
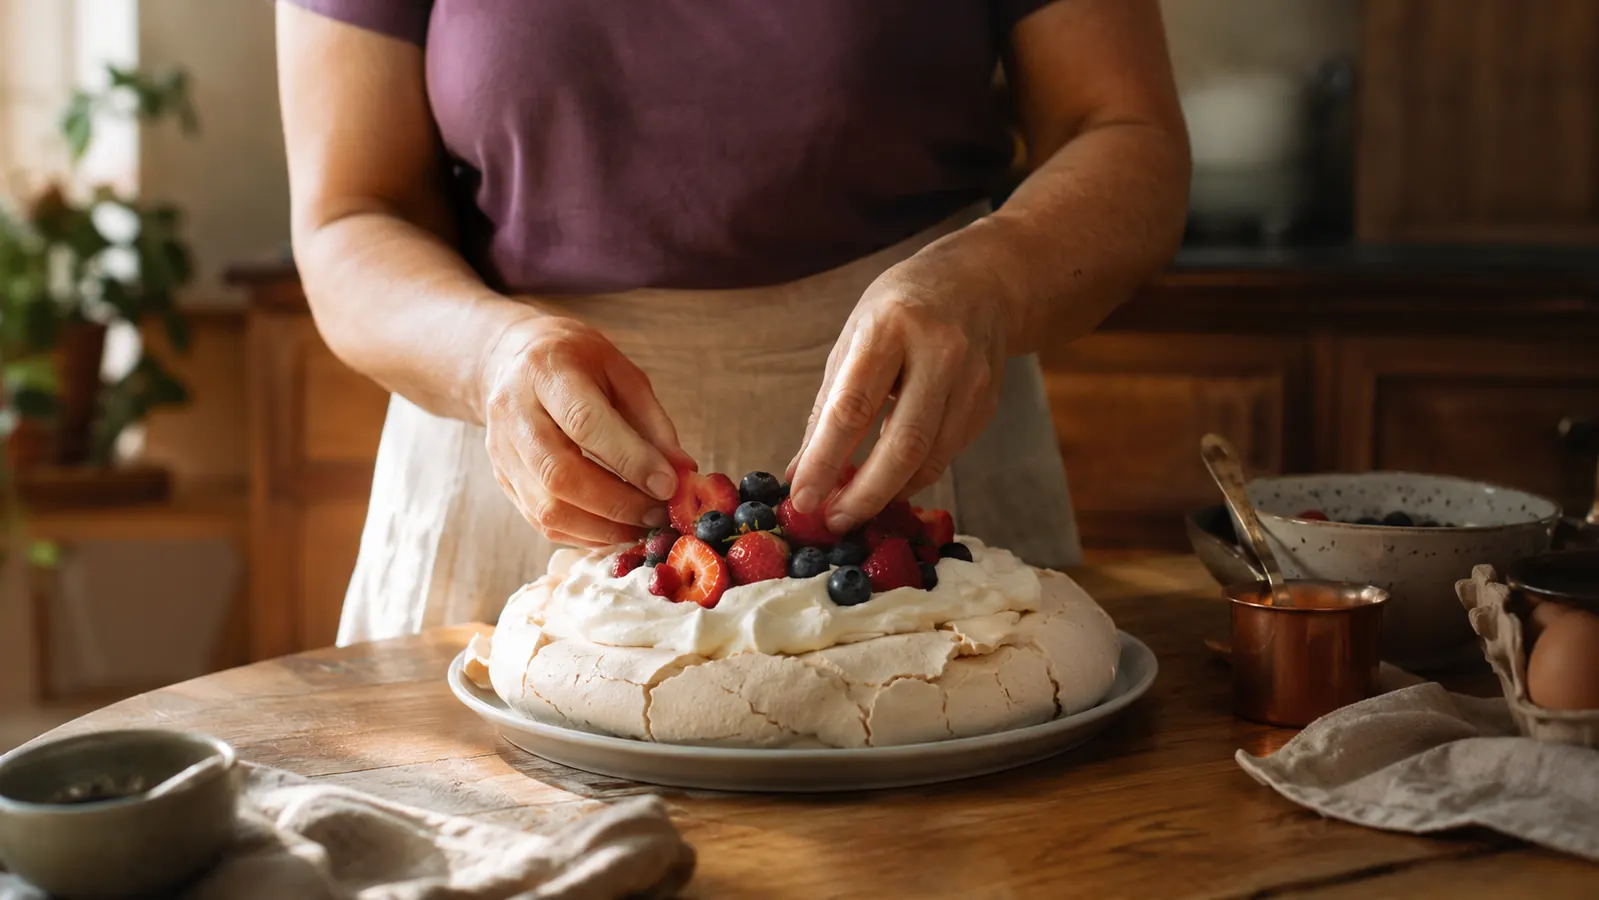
If soupy egg whites have ruined one too many desserts, this is what fixed it for me
Check today's price on the KitchenAid 5 Ultra Power Speed Hand Mixer and see if it's in stock before your next meringue.
Amazon Check Today's Price on Amazon →